Donut Love
Here we are with our first ever blog post - and it's so fitting that it's about donuts. Who doesn't love donuts, right? Only people who are wrong, that's who.
We might be a little donut-obsessed. Or maybe just food-obsessed. With a particular soft spot for donuts. We're just two girls who love to cook, bake and eat - especially eat. That's what Fat Fridays are all about! We'll be coming to you every week with our Fat Friday eating adventures. At least, every week that we can motivate ourselves to get these photos taken and blog posts written. We'll do our best.
So - week one - yeast donuts! The best kind, hands down. And absolutely the best when you eat them hot, just out of the frying oil, and freshly glazed. They melt in your mouth, people!
Want to make them yourself? You can do it! We've got the step-by-step breakdown for you here, complete with pictures.
I'm gonna throw the recipe here first for those of you, like me, who hate having to scroll through all the pictures to find the ingredient list. After you scan through that and see what you need, keep on going to see the process in action. Plus, more photos of donuts, and who can say no to that.
Glazed Yeast Donuts
Ingredients:
- 2 Tbsp active dry yeast
- 1/4 cup warm water
- 1 1/2 cups lukewarm milk
- 1/2 cup sugar
- 1 tsp salt
- 2 eggs
- 1/3 cup shortening
- 5 1/4 cups flour, plus more for dusting
- 1 quart vegetable oil for frying
- 1/3 cup butter
- 2 cups powdered sugar
- 1 1/2 tsp vanilla
- 4 Tbsp heavy cream or more until glaze is desired consistency
- Put your warm water into the bowl of your stand mixer and sprinkle the yeast on top. Let it sit until it is happily foamy, probably about 5 minutes.
- Add your milk, sugar, salt, eggs, shortening, and 2 cups of flour. Let your dough hook attachment work the dough for a few minutes on low speed, then add the rest of the flour 1/2 cup at a time until the dough stops sticking to the sides. Once all your flour is added, let the dough hook knead the dough until it is nice and elastic, probably around 5 minutes. Put your dough in a greased bowl and cover it tightly with plastic wrap. Put your bowl of dough somewhere warm to rise until doubled in size - ours took 30 minutes. We like to set our oven to the lowest temperature allowed, 170 degrees, then turn it off and immediately put the dough in to rise. You'll know it's ready for the next step when you poke your finger into it and the indentation doesn't disappear.
- VERY LIBERALLY flour your surface for rolling. We needed a LOT of flour - the dough is very sticky. Roll your dough out until it is 1/2" thick, then cut your donuts (and donut holes!) with a floured cutter. We definitely recommend using the donut holes rather than trying to re-roll the dough - it is VERY hard to re-roll. Cover the cut donuts and allow them to rise again until doubled; ours took another half hour. We put our cut donuts and holes onto well-floured pans so we could throw them right back into the warm oven for this second rising.
- While your donuts are rising, you can start making your glaze, and heating your oil for frying. We like to use a pot with nice, tall sides for frying so there is less chance of being spattered with hot oil. Use your candy thermometer to keep an eye on the oil temperature, and bring it up to 350 degrees. While that is heating, melt your butter in a saucepan over medium heat. Whisk in your powdered sugar and vanilla until smooth. Remove the glaze from the heat and add your heavy cream one tablespoon at a time until your glaze reaches your desired consistency. There's a lot of leeway here - it can be anywhere from a very then, transparent glaze, to a thick, opaque glaze. Make it however you like! Our personal favorite was the really thick glaze. DEFINITELY taste test this. For quality control purposes. But don't eat it all - set this aside for later.
- Once your donuts are fully risen and your oil has reached the desired temperature, carefully slip them into the hot oil. I would recommend using a slotted spatula so excess oil stays in the pan as you turn and remove them. You want to fry the donuts until they are golden brown on each side, which was about 30 seconds per side for us. Remove the donuts and place them on some paper towels to absorb excess oil and let them cool briefly. When they are cool enough to handle, go ahead and dip them in that delicious glaze. Place them on cooling racks for the glaze to set. Then...devour them.
Dough is ready for its first rise!

It has risen once for half an hour and has doubled in size.
We know it's ready to roll since Katrina's fingerprint isn't disappearing.

Roll out until 1/2" thick. Use LOTS of flour for rolling so they don't stick!
And it helps to twist the cutters to get a nice, clean cut.
Try to cut efficiently so you don't need to re-roll dough. It is so elastic that re-rolling is very tricky.

Let your cut donuts and donut holes rise for another half hour.
Look at these beauties! They're huge!

Be careful placing your donuts in that hot oil.
Keep them in for about 30 seconds per side, then flip.

Doesn't it look lovely? They'll brown for another few seconds
after you take them out, so be sure not to overcook them.
Take your first one out and cut it open to see how long it takes to cook through.

Look at these gorgeous donuts! And they're not even wearing their fancy, shiny glaze yet.


Now they're all dressed up and ready to go...straight into our bellies.


They are ENORMOUS.


What do you do with oversized donut holes?
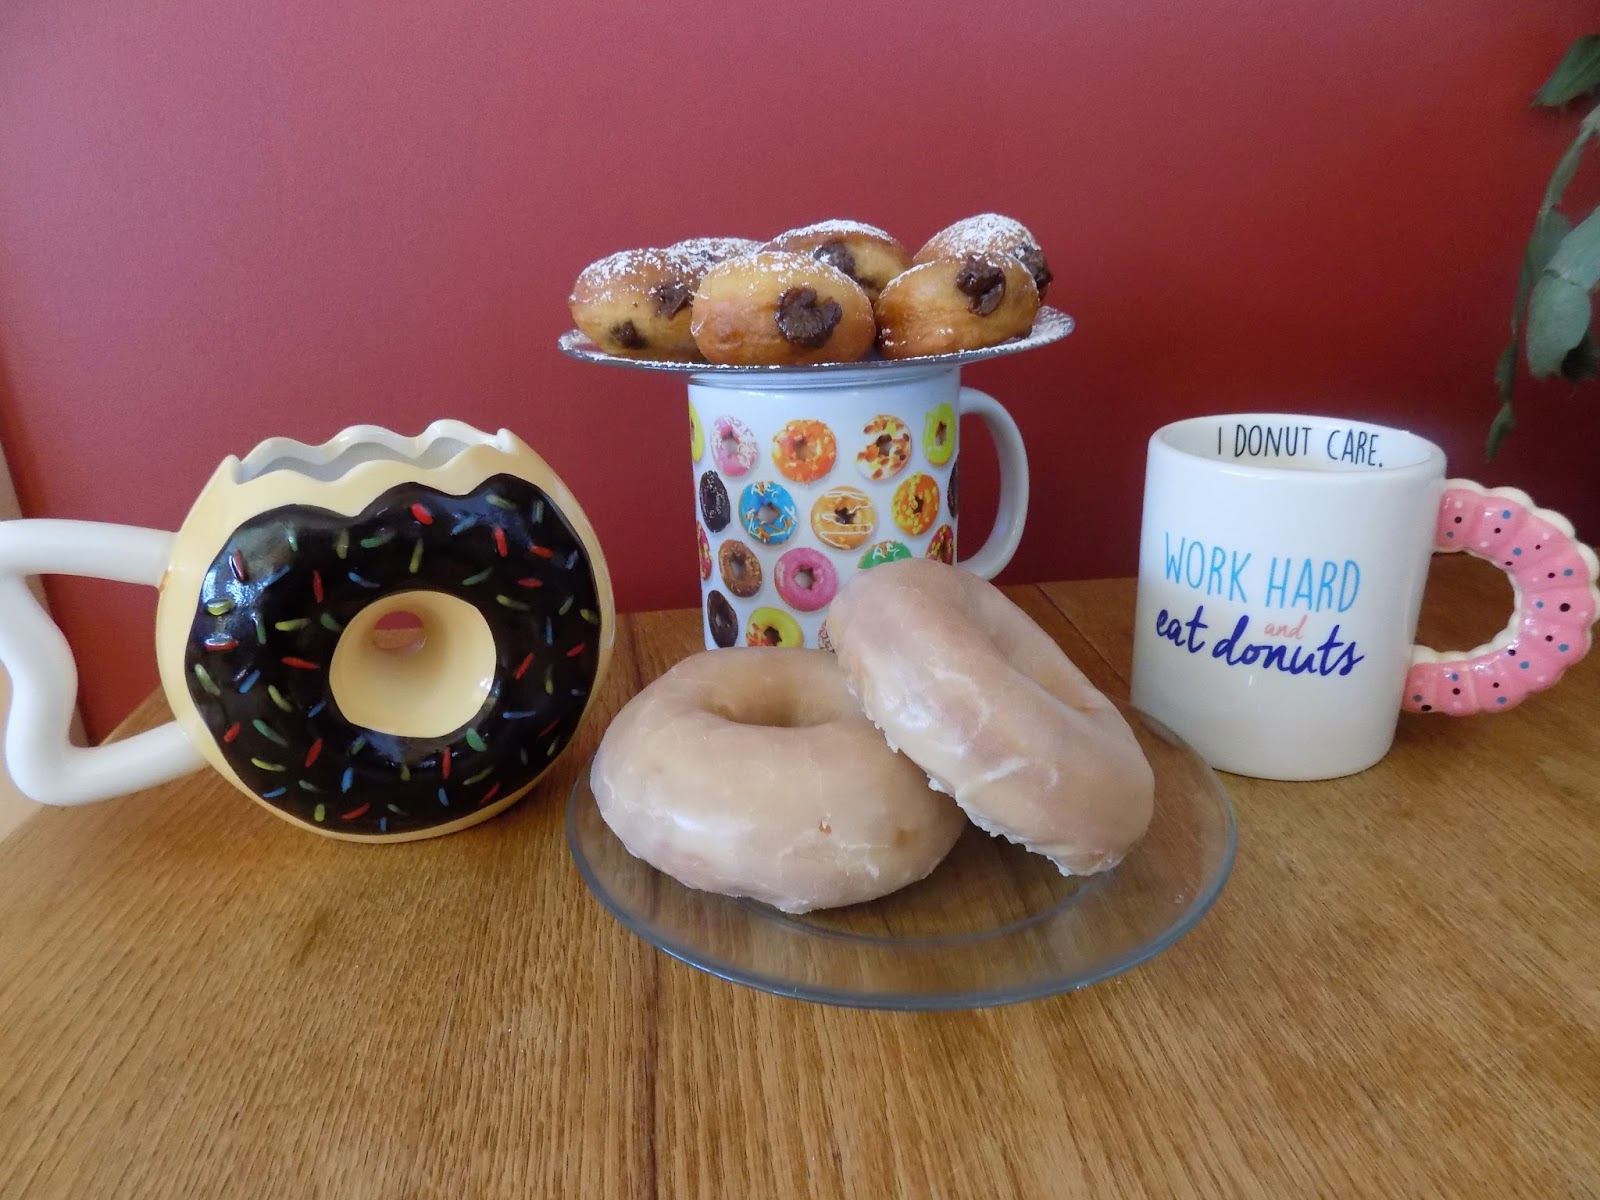
Stuff them with Nutella and sprinkle them with powdered sugar, obviously!

Do we own too many donut mugs? The answer is definitely NO.

Check back next week to see what delicious food we are baking and eating!
Get in on the Fat Fridays Forever fabulousness by following our spanking new blog!
Yum


Comments
Post a Comment